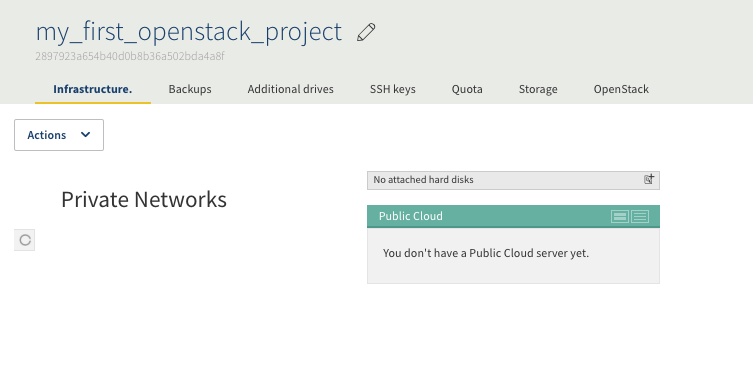
This is the first in a series of posts that will walk you through using the openstack-based OVH public cloud. In this post you will get introduced to using the ovhcloud.com UI to create an Openstack server.
I will attempt in this post to present the options that are available to OVH public cloud customers along side the choices I made that were specific to my server.
Let’s get started…
1. Create an account at ovhcloud.com.
The first thing you will need to do before you can create OVH public cloud servers is setup an account by going to https://ovhcloud.com/auth/ and clicking the ‘Create an account’ button.
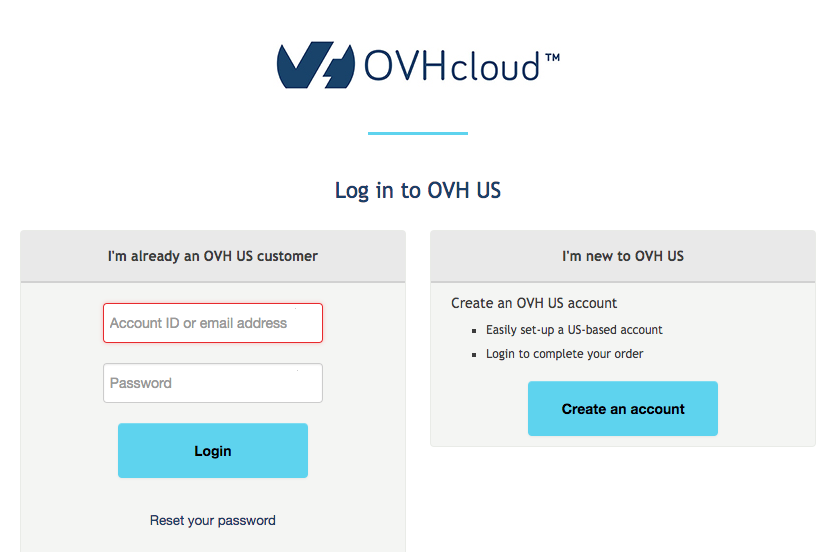
After providing my email address, specifying a complex password and adding my billing address I received an email within minutes that my account had been activated.
2. Setup two-factor authentication.
The second thing you should do after creating an account is setup two-factor authentication. Enabling two-factor authentication will require that you provide a code (token) from your two-factor authentication application on your phone or physical device, along with your username and password when you log into ovhcloud.com. I would highly recommend setting up two-factor authentication to help prevent unauthorized access to your OVH account.
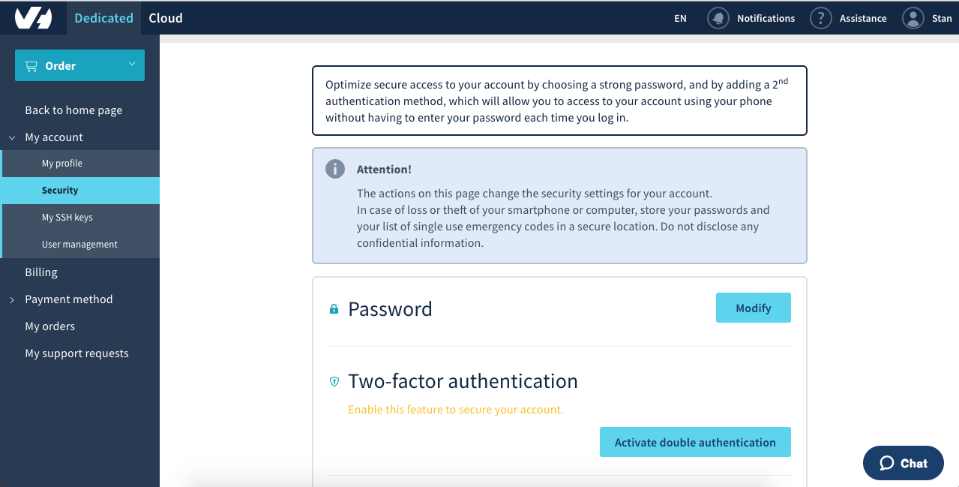
I found the option to enable two-factor authentication by going to My Account | Security | Two-factor authentication | activate double authentication
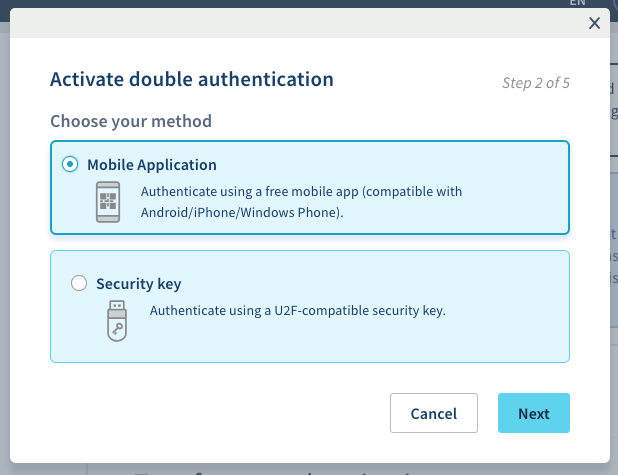
OVH supports mobile applications and physical devices for two-factor authentication. I selected mobile application since I would be using Google Authenticator.
Next I scanned the QR code on my phone, provided a code (token) generated by the Google Authenticator app and gave it a friendly name.
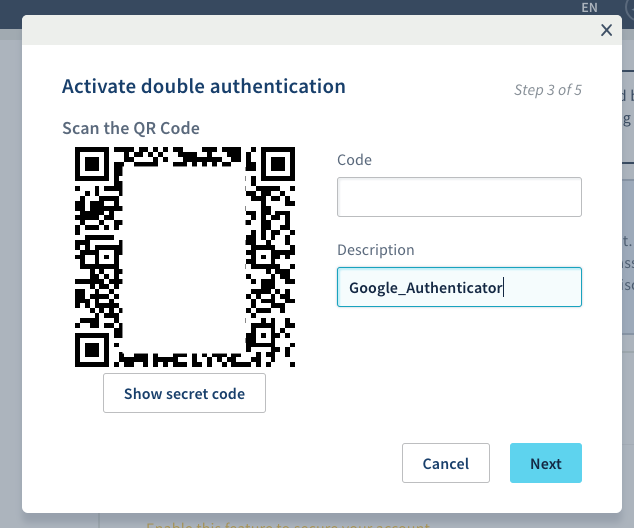
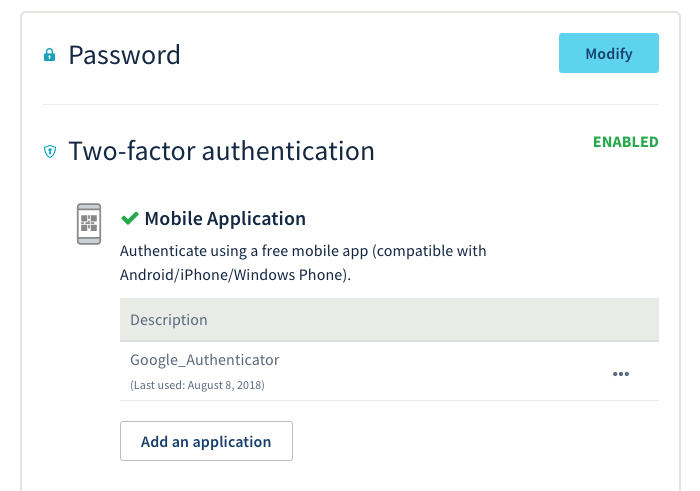
After clicking next you will be given emergency codes that can be used if you lose your mobile app or physical two-factor device. Copy these emergency codes and store them in a safe place since they can never be retrieved again. After clicking next the two-factor authentication option will show as being enabled.
3. Adding a payment method.
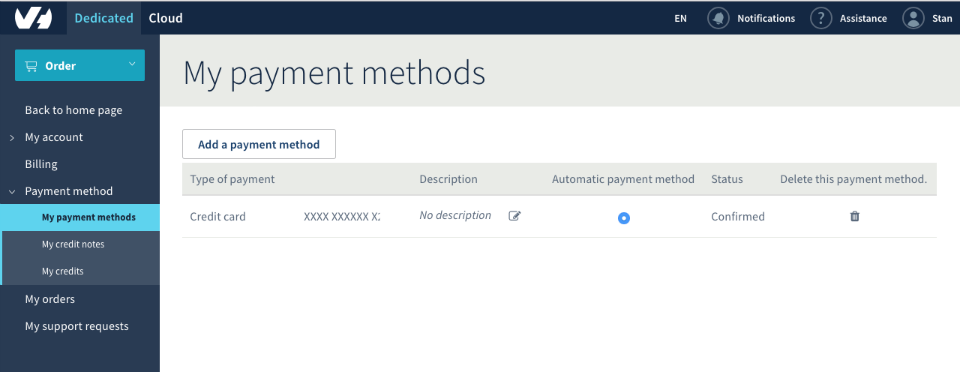
You will now need to add a payment method, since it will be used to purchase cloud credits in the next step. I added a payment method by clicking my username at the upper right, clicking ‘My payment methods’ and finally clicking the ‘Add a payment method’ button. Provide your card number, experation date and security code and click the ‘Add’ button.
Once your payment method shows a “Confirmed” status you are ready to proceed to the next step.
4. Creating a public cloud project.
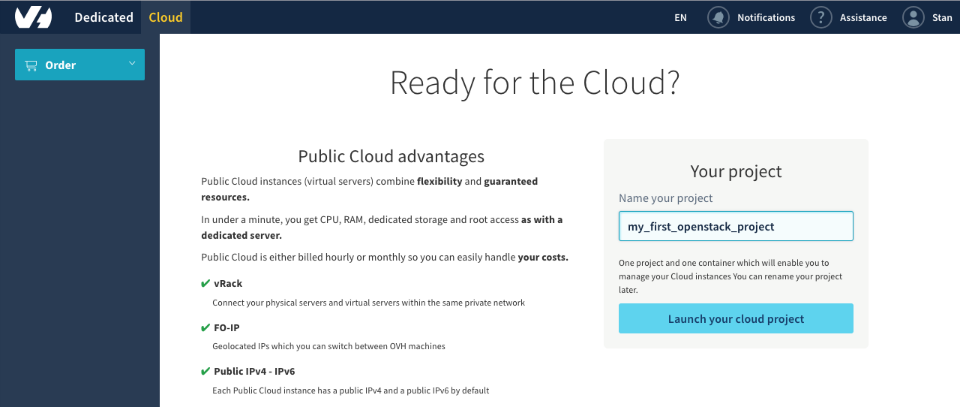
The next step you need to do is create a cloud project. To do this I went to order dropdown and clicked ‘Cloud project’.

Name your project and click ‘launch your cloud project’.
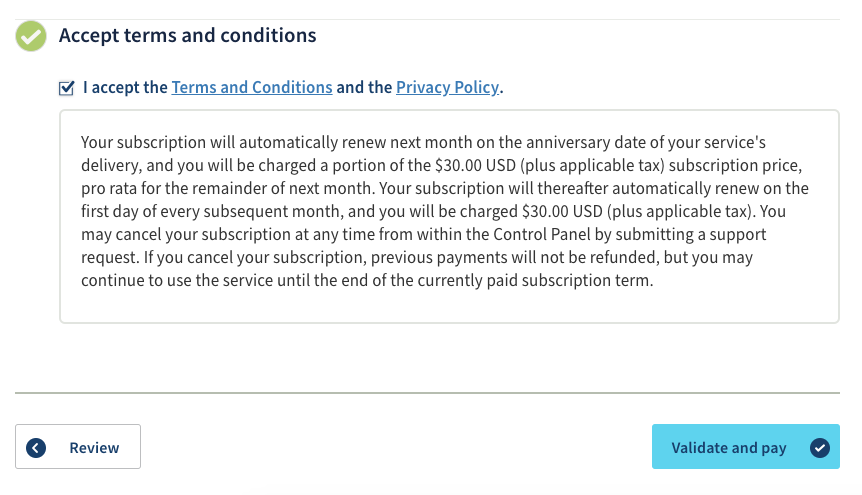
On the next screen you will be purchasing credits that your running servers will consume.
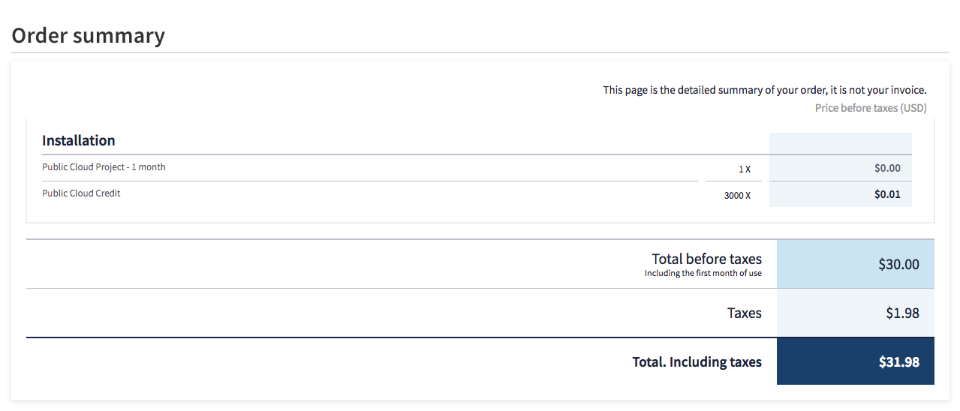
Accept the terms and conditions by clicking the check box. Your cloud project will be ordered and payment method charged once you click the ‘Validate and pay’ button.
I received an email from OVH within 5 minutes of ordering to tell me that my cloud project had been created.
5. Creating a new ssh key for OVH public cloud to use.
You will need to generate a ssh key to connect to the OVH openstack servers. On my mac laptop I ran the following command to generate a new ssh key for this purpose.
ssh-keygen -b 4096 -t rsa -C "stan.dorsett+ovhus_public_cloud@gmail.com" -f ~/.ssh/id_rsa-ovhus_public_cloud- The
-boption will specify the number of bits in the ssh key. - The
-toption with specify the type of ssh key generated. - The
-Coption will add a comment to the end of the public key file. - The
-foption will specify the file that the private key will be saved to.
When running the command you will also get asked you if you want to add a passphrase that will need to be provided when you use the ssh key. I didn’t choose to set a passphrase, but you can choose to if you feel the need.
Here is the output from my running of this command.
MacBook-Pro:~ standorsett$ ssh-keygen -b 4096 -t rsa -C "stan.dorsett+ovhus_public_cloud@gmail.com" -f ~/.ssh/id_rsa-ovhus_public_cloud
Generating public/private rsa key pair.
Enter passphrase (empty for no passphrase):
Enter same passphrase again:
Your identification has been saved in /Users/standorsett/.ssh/id_rsa-ovhus_public_cloud.
Your public key has been saved in /Users/standorsett/.ssh/id_rsa-ovhus_public_cloud.pub.
The key fingerprint is:
SHA256:7kSErA6S8zCIq0H/2hmcxE4+JUsW6ZmoDPIE/ULM8I4 stan.dorsett+ovhus_public_cloud@gmail.com
The key's randomart image is:
+---[RSA 4096]----+
|.                |
| *   ...         |
|. *  oo .        |
|o* .+.+.         |
|E.=.o@ .S        |
|=Xo+O =o         |
|ooo..O  o        |
|..  o +o         |
|.  ..+  .        |
+----[SHA256]-----+
MacBook-Pro:~ standorsett$
Output the public key so you can use it in the next step.
MacBook-Pro:~ standorsett$ cat /Users/standorsett/.ssh/id_rsa-ovhus_public_cloud.pub
ssh-rsa AAAAB3NzaC1yc2EAAAADAQABAAACAQDJ8LcFN8MRO/uwgVcdDg0grv
...lots of more characters here...
l0nXM7jjnjD9L3UMFw== stan.dorsett+ovhus_public_cloud@gmail.com
MacBook-Pro:~ standorsett$
6. Add the ssh pub key to the OVH public cloud.
You next need to add the public key generate in the previous step to OVH public cloud so it can be used to connect to servers you create.
Go to the project you created in the previous step. You can find this by clicking Cloud | Servers | [your project name].

Click the ‘SSh keys’ tab to view or create new ssh keys.
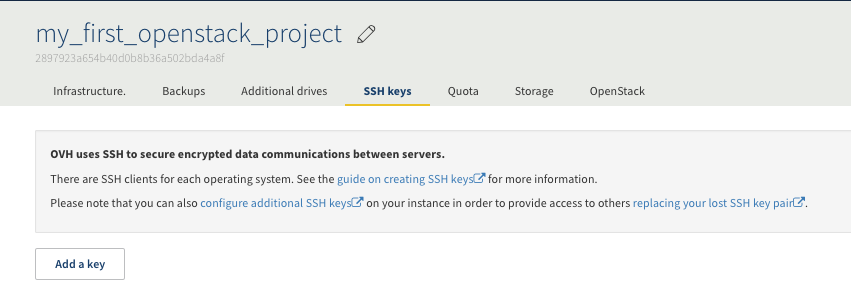
Click ‘Add a new key’ to add the public key generated in the previous step.

Paste the output from the public key file, provide a friendly name for the ssh key and click “Add this key.’

7. Create a new openstack server.
Under your cloud project and click the Infrastructure tab. From the Actions dropdown click ‘Add a server.’
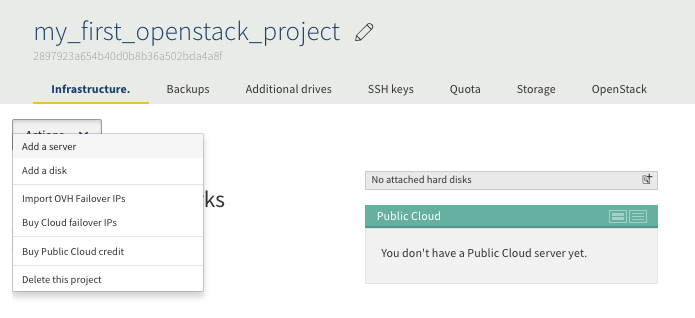
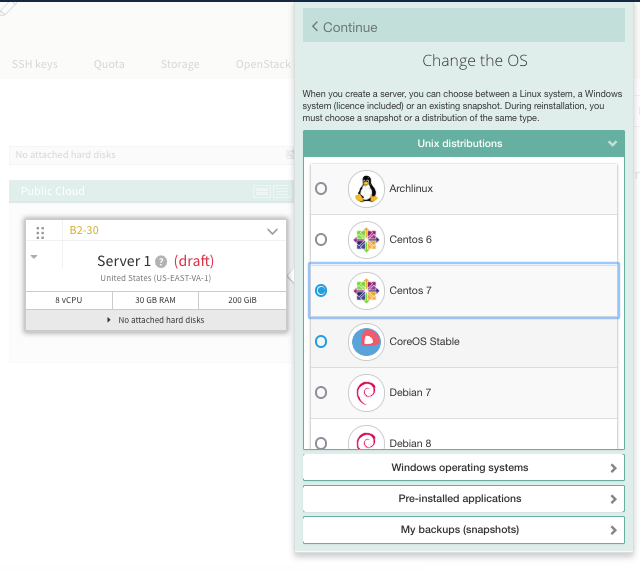
Choose the OS (image) that you want to have deployed.
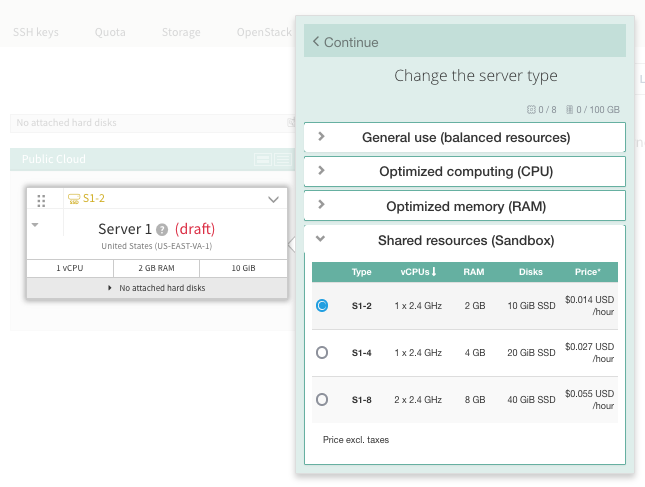
Select the server type (flavor) of the server you want to create. The server type will specify the number of vcpu, memory, disk size and price per hour of the openstack server that will be created:
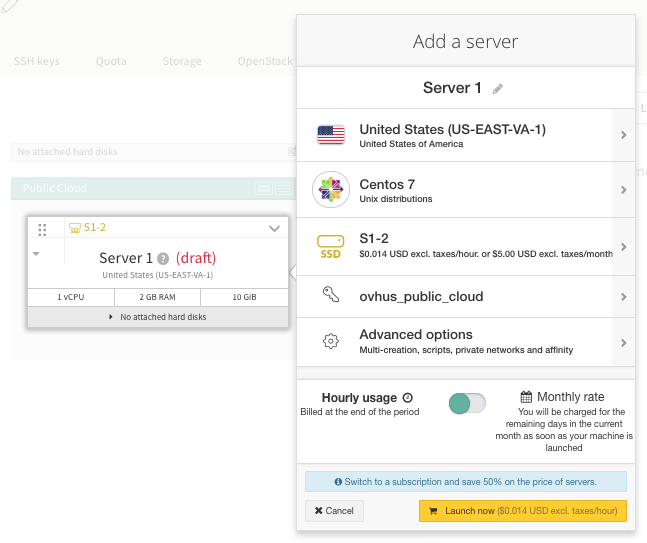
Select the ssh key you created in the previous step. Click the ‘Launch now’ button to create the server.
Once the server is created a ‘Login information’ window will be displayed with the ssh username and ip address you will need to connect to the server.
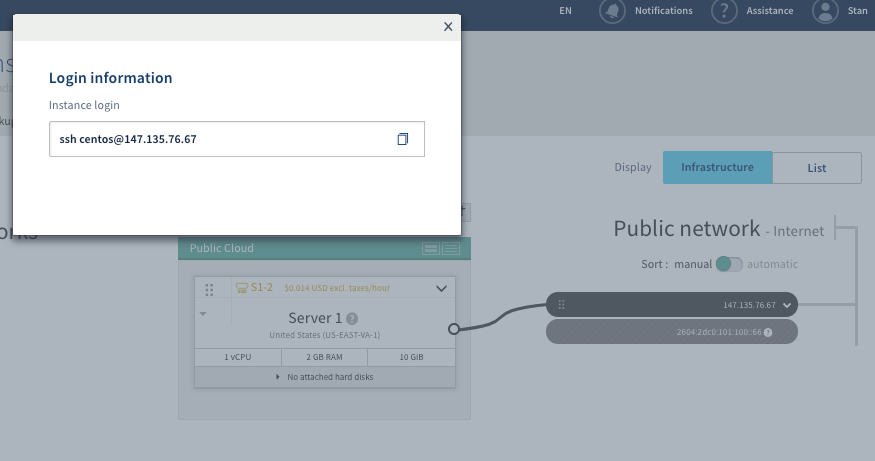
8. SSH to the new openstack server,
You can now use the login infomation provided in the last step along with the private ssh key you generated to connect to your new server. I used the following commands to ssh from my Mac laptop to connect.
ssh -i /Users/standorsett/.ssh/id_rsa-ovhus_public_cloud centos@147.135.76.67-i option is used to specify the ssh private key you generated earlier.
Here is the output from my running of this command.
MacBook-Pro:~ standorsett$ ssh -i /Users/standorsett/.ssh/id_rsa-ovhus_public_cloud centos@147.135.76.67
The authenticity of host '147.135.76.67 (147.135.76.67)' can't be established.
ECDSA key fingerprint is SHA256:aVSsv0mHKgIizglcvouJkvtBBOiZfNcQTpIc5oxhNO4.
Are you sure you want to continue connecting (yes/no)? yes
Warning: Permanently added '147.135.76.67' (ECDSA) to the list of known hosts.
[centos@server-1 ~]$
You can now run what commands you would like on your new openstack server, like checking the IP address of the server you created.
[centos@server-1 ~]$ ip a
1: lo: <LOOPBACK,UP,LOWER_UP> mtu 65536 qdisc noqueue state UNKNOWN qlen 1
    link/loopback 00:00:00:00:00:00 brd 00:00:00:00:00:00
    inet 127.0.0.1/8 scope host lo
       valid_lft forever preferred_lft forever
    inet6 ::1/128 scope host
       valid_lft forever preferred_lft forever
2: eth0: <BROADCAST,MULTICAST,UP,LOWER_UP> mtu 1500 qdisc pfifo_fast state UP qlen 1000
    link/ether fa:16:3e:42:97:c4 brd ff:ff:ff:ff:ff:ff
    inet 147.135.76.67/32 brd 147.135.76.67 scope global dynamic eth0
       valid_lft 86350sec preferred_lft 86350sec
    inet6 fe80::f816:3eff:fe42:97c4/64 scope link
       valid_lft forever preferred_lft forever
[centos@server-1 ~]$
9. Destroy the openstack server.
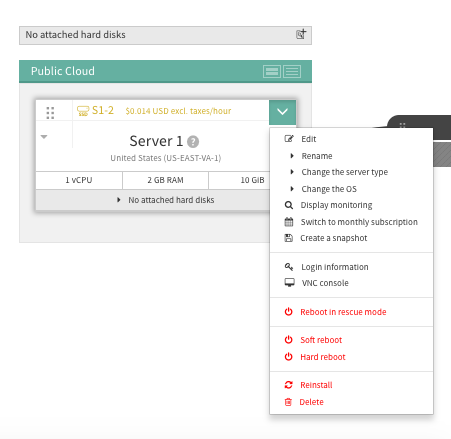
Once you are finished with your openstack server, you should delete the server in order to stop being charged for it’s usage. Click the drop down on the server and select ‘delete’ to delete the server.
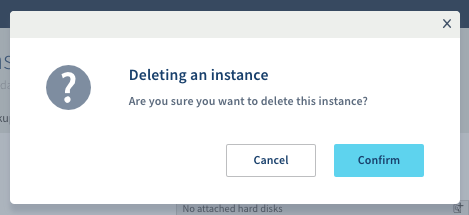
Click ‘Confirm’ to confirm that you want to delete the server. This is your last chance to reconsider if you really want to delete it.
Your cloud project will now be back to not showing any servers.
