This is the second in a series of posts on using a Packer pipeline to generate Vagrant .box files.
In order to begin using Packer to create images, we will first need to lay the “virtual” ground work. Packer can create virtual machine images on a wide variety of virtualization or cloud platforms, but since I work for VMware I have been using the ESXi hypervisor.
- This post will be covering installing ESXi as a virtual machine on a vSphere cluster. There is no reason that you couldn’t use Packer with a stand alone physical server that has ESXi installed as well.
- These steps were performed using the vCenter 6.0 web client. You could just as well use ESXi 5 with the C# client, but the steps for setting up nested virtualization will be slightly different.
- There is nothing new about the steps being covered, but I figured it would be best to go ahead and document them.
- If you are looking for the best resources regarding running ESXi in a virtual machine, I would suggest taking a look at William Lam’s blog which covers this subject in great detail. Williams site also provides more details about the embedded host client we will be using.
Let’s get started…
1. Log into the web client of your vCenter instance and create a new virtual machine.
We first need to create a new virtual machine inside of which we will install the ESXi 6.0 hypervisor.
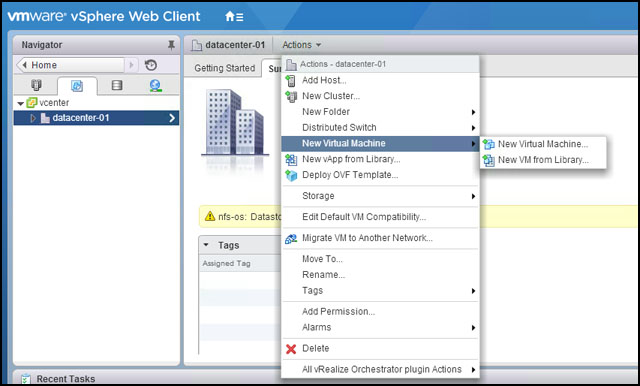
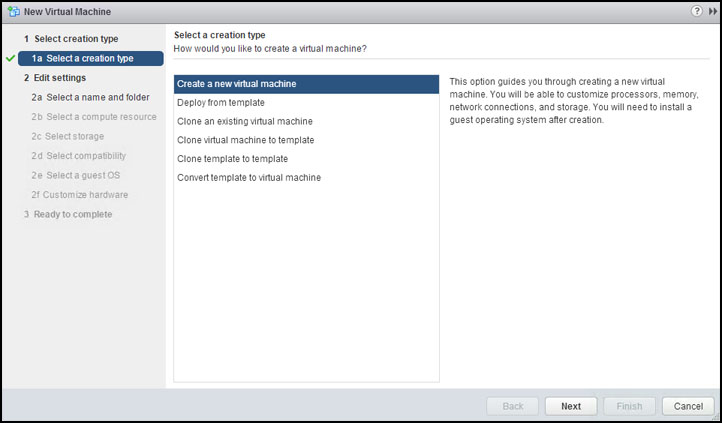
2. Step through the new virtual machine wizard:
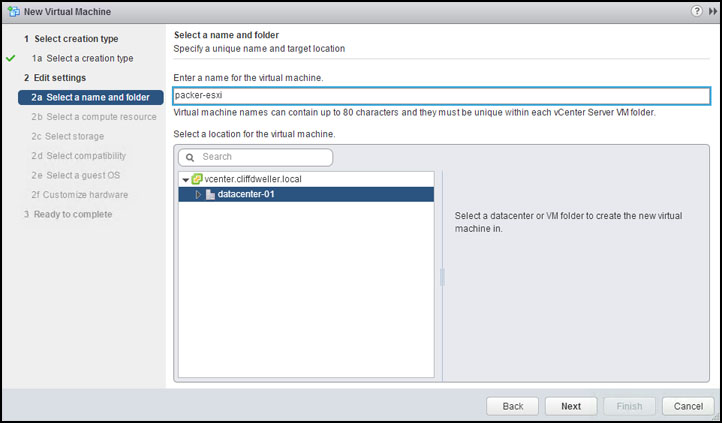
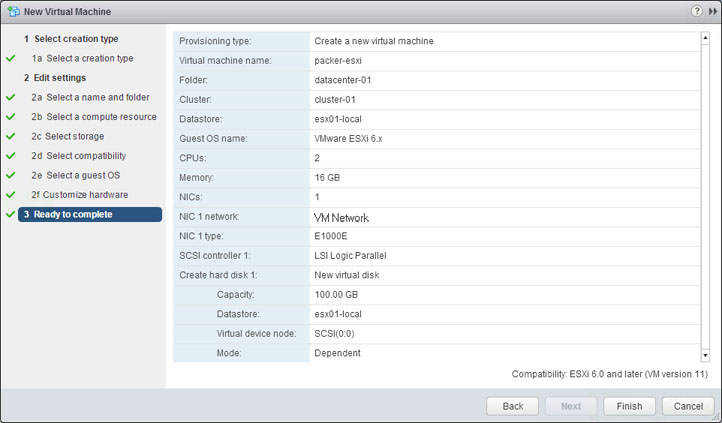
Name the virtual machine what you would like and click next. I named mine “packer-esxi”.
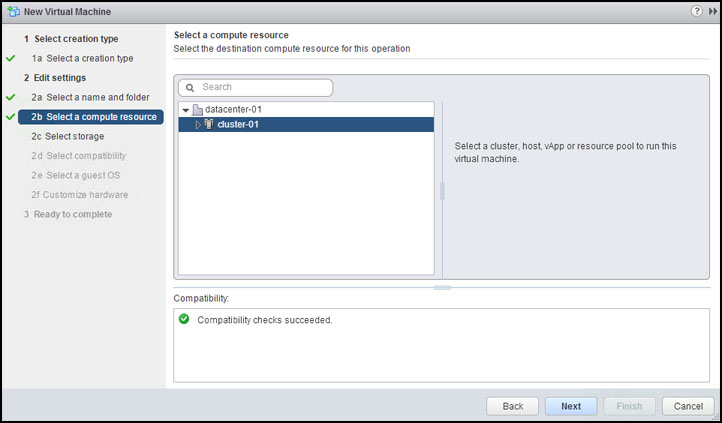
Select the vCenter cluster or resource pool the virtual machine will reside in and click next.
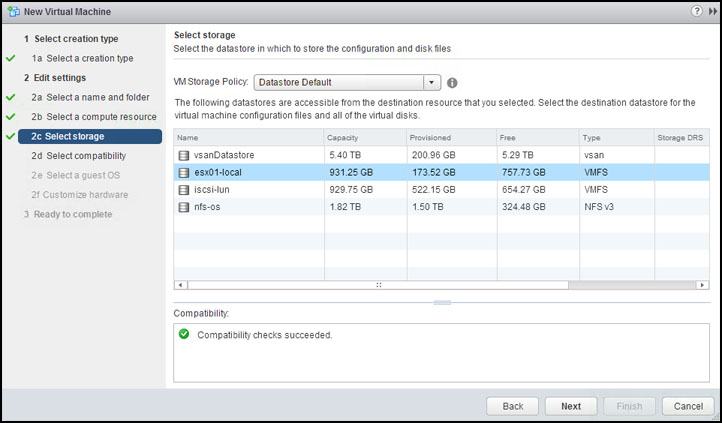
Select the datastore you want the ESXi virtual machine to be created on and click next. I’m using a local datastore on one of my physical ESXi hosts, to prevent Packer from using storage shared across the entire cluster.
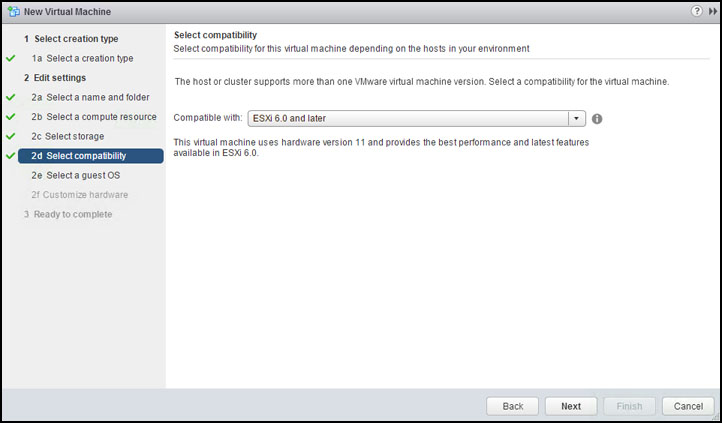
Select the compatibility (virtual hardware level) for the virtual machine and click next. I kept with the default of version 11.
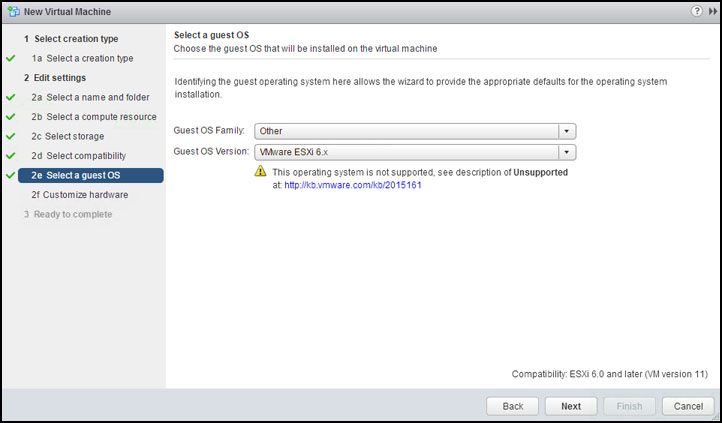
Select the guest operating system. vSphere 6.0 or newer will allow you to select ESXi 6.0 as you guest OS. Click next. This is where things will be different if you are using vSphere 5.0 and the c# client since you will only have ESXi 5.0 listed as an option.
Customize to virtual hardware to have the necessary resources. I had created my ESXi vurtual machine with:
- 2 vCPU
- 16 GB of memory
- 100GB virtual hard drive
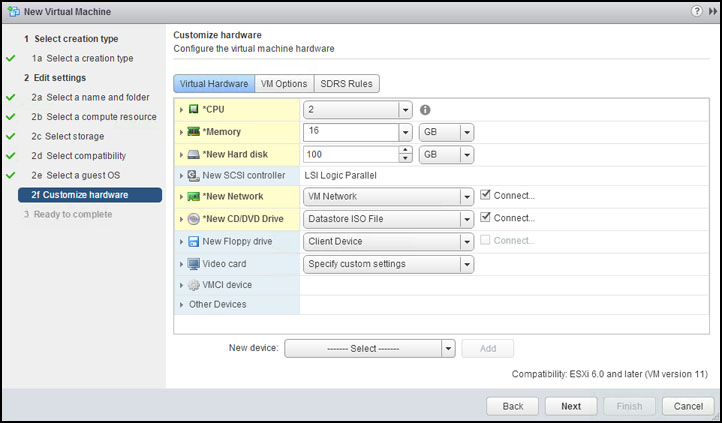
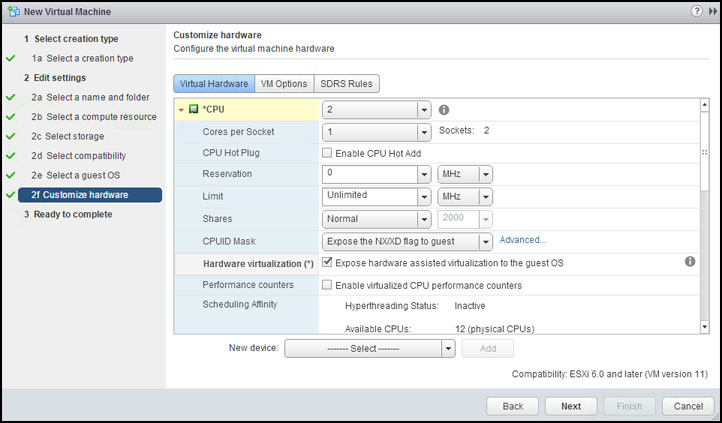
Make sure you expand CPU and enable “Hardware virtualization.” The ESXi installer will fail if this is not enabled.
Click finish to create the virtual machine.
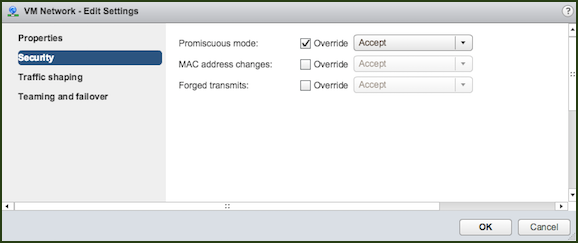
3. Enable promiscuous mode on virtual portgroup being used by ESXi virtual machine
You will need to ensure the portgroup (virtual network) you are connecting the ESXi virtual machine to has promiscuous mode enabled. Enabling promiscuous mode is required for the ESXi virtual machine to pass traffic to the child virtual machines running on it.
4. Connect the virtual CDROM of the ESXi virtual machine to the ESXi 6.0 installer .iso and power it on.
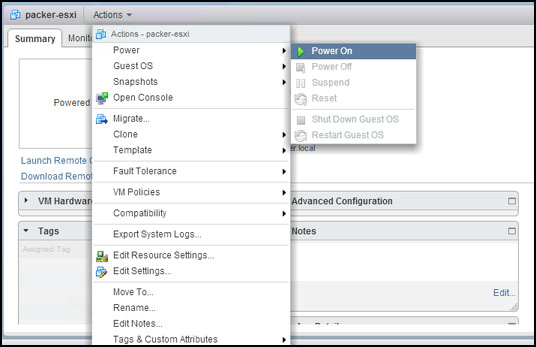
5. Connect to the console of the ESXi virtual machine and step through the installer
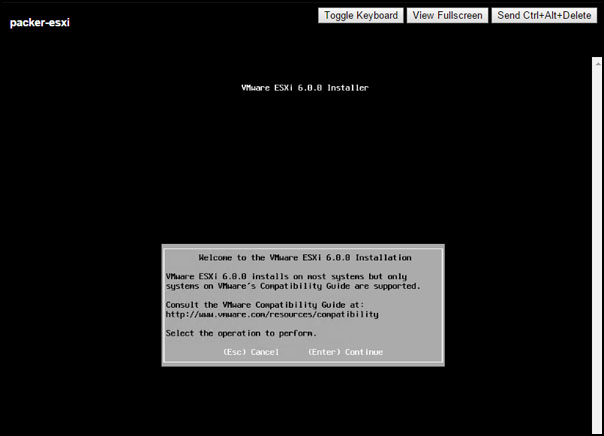
Press enter to begin
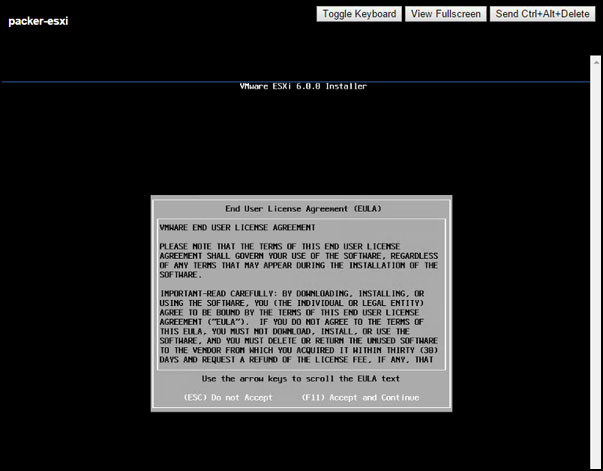
Press F11 to accept the EULA
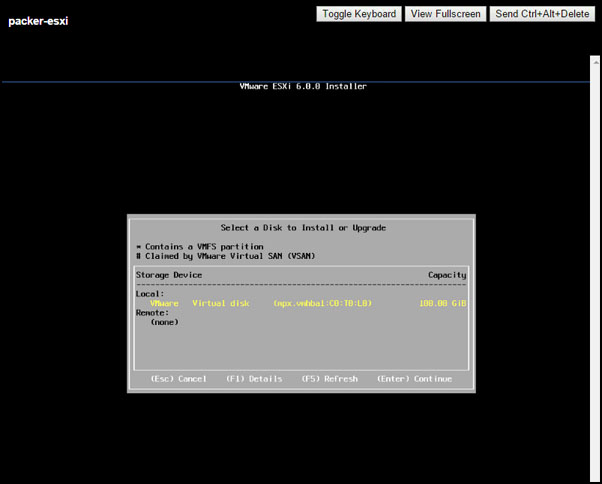
Select the 100GB virtual hard drive we created with the virtual machine
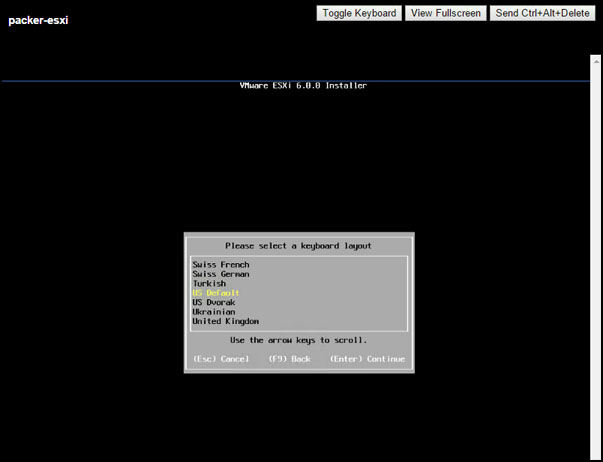
Select your keyboard layout and press enter
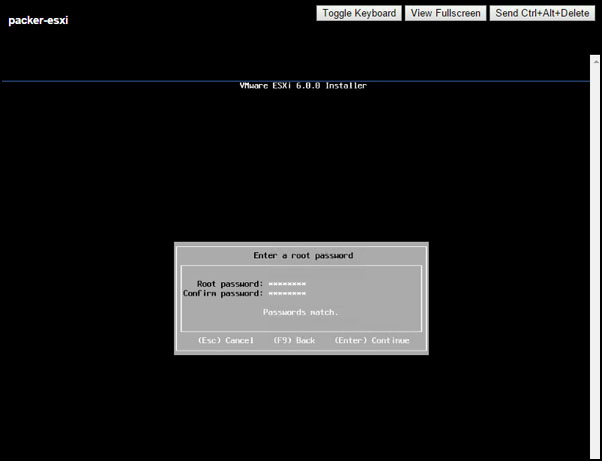
Enter the root password twice and press enter
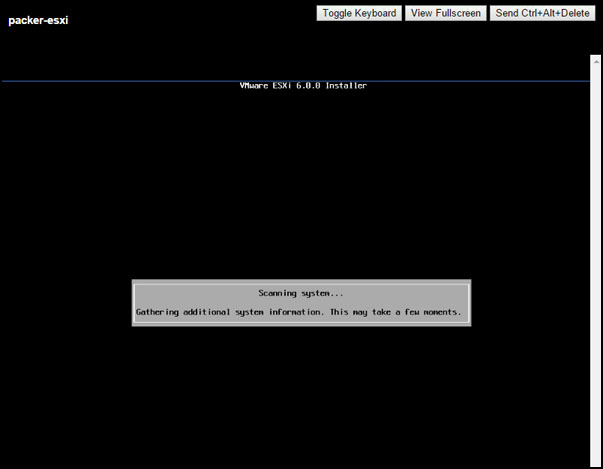
Press F11 to begin the install process
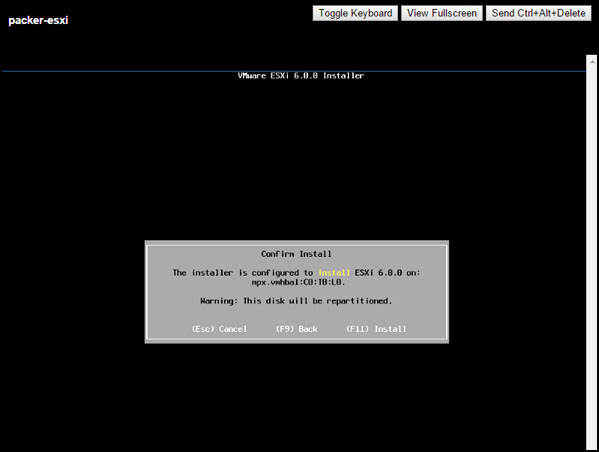
Disconnect the .iso file from the virtual CDROM before rebooting the virtual machine
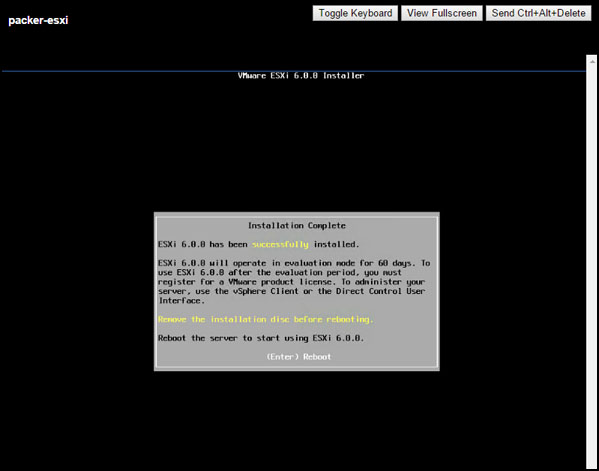
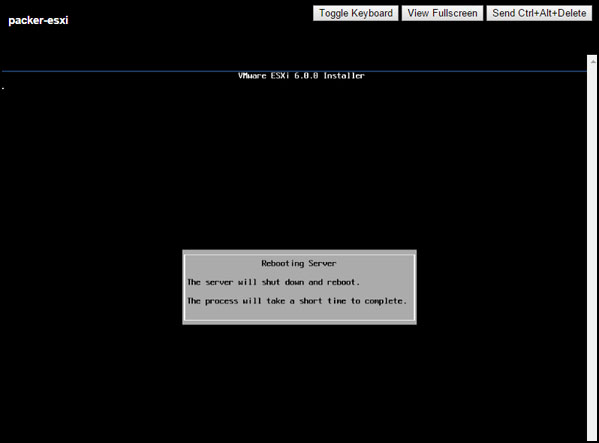
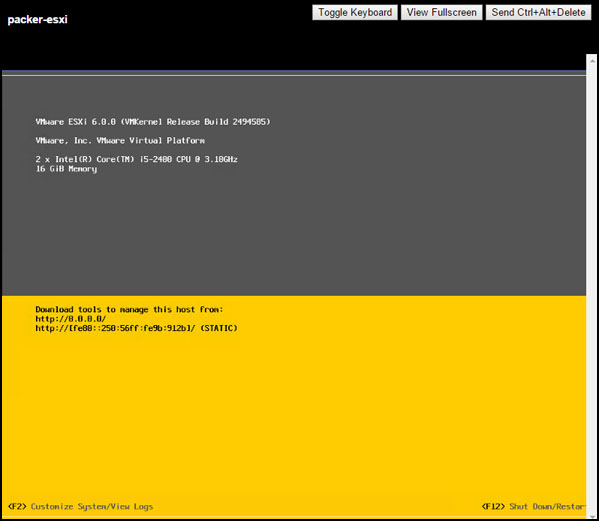
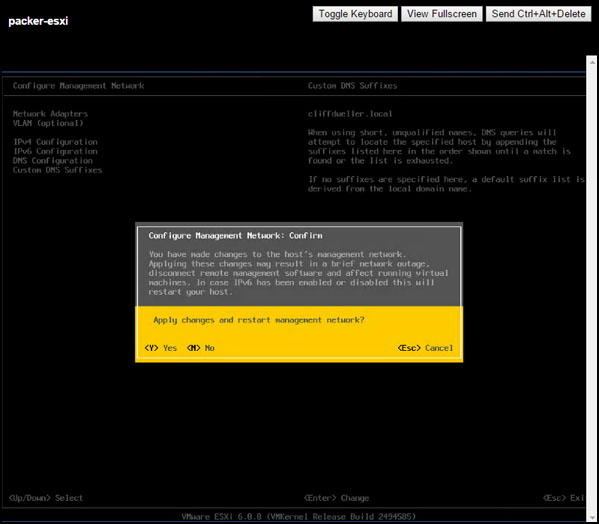
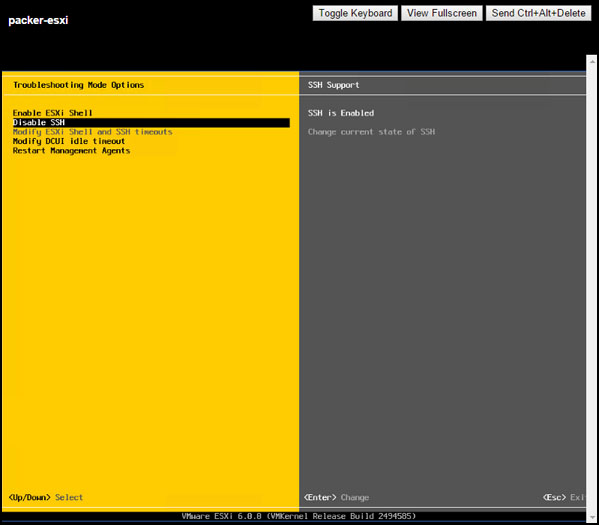
6. Press F2 to log into ESXi and make the following changes:
- Set the management IP address, subnet mask and gateway
- Set the hostname, dns servers and search domain
- Enable ssh
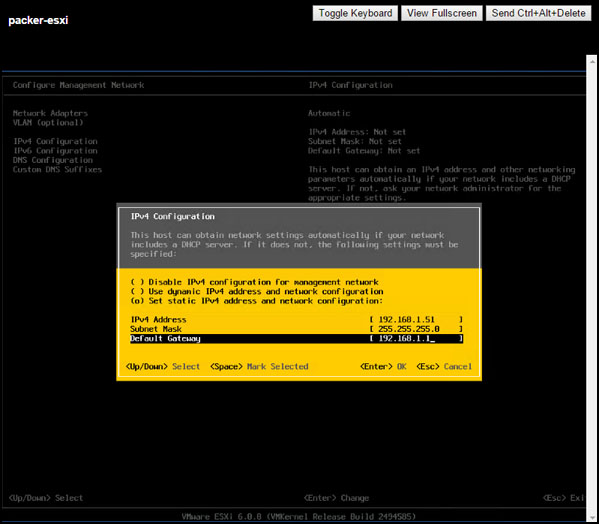
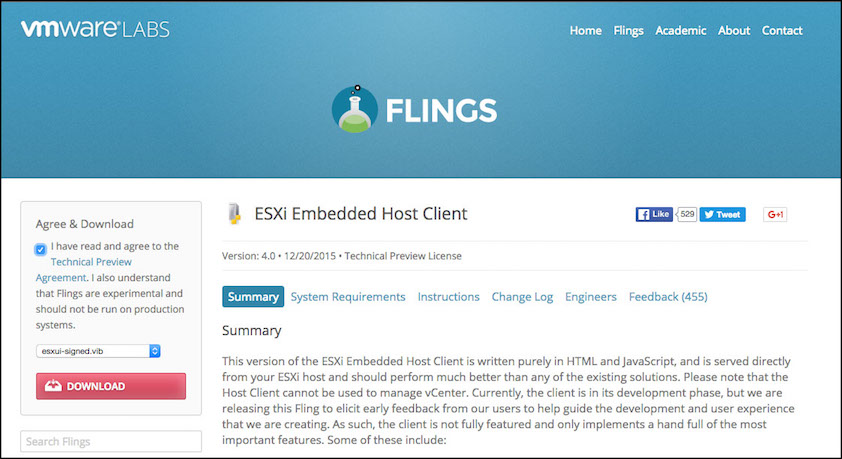
7. On your local machine download the embedded host client .vib
The embedded host client is a VMware fling that allows you to manage an ESXi host from a browser, without needing the #c client or vCenter. You can download the embedded host client .vib from this link.
8. SCP the downloaded .vib to the ESXi virtual machine
sdorsett-mbp:~ sdorsett$ scp ~/Downloads/esxui_signed.vib root@192.168.1.51:/tmp/
The authenticity of host '192.168.1.51 (192.168.1.51)' cant be established.
RSA key fingerprint is 82:e9:6b:9e:9d:ac:d7:8a:65:e2:9e:bf:60:fc:2b:df.
Are you sure you want to continue connecting (yes/no)? yes
Warning: Permanently added '192.168.1.51' (RSA) to the list of known hosts.
Password: ********
esxui_signed.vib                                                                                                                                100% 2805KB   2.7MB/s   00:00
sdorsett-mbp:~ sdorsett$
9. SSH to the ESXi virtual machine and install the embedded host client .vib
sdorsett-mbp:~ sdorsett$ ssh root@192.168.1.51
Password: ********
The time and date of this login have been sent to the system logs.

VMware offers supported, powerful system administration tools.  Please
see www.vmware.com/go/sysadmintools for details.

The ESXi Shell can be disabled by an administrative user. See the
vSphere Security documentation for more information.

[root@packer-esxi:~] cd tmp
[root@packer-esxi:/tmp] ls
esxui_signed.vib  nfsgssd_krb5cc    probe.session     vmware-root

[root@packer-esxi:/tmp] esxcli software vib install -v /tmp/esxui_signed.vib
Installation Result
   Message: Operation finished successfully.
   Reboot Required: false
   VIBs Installed: VMware_bootbank_esx-ui_0.0.2-0.1.3357452
   VIBs Removed:
   VIBs Skipped:

[root@packer-esxi:/tmp]
10. Enable guest ip hack on the ESXi virtual machine
The Packer VMware .iso builder documentation lists the following esxcli command as needing to be run on the ESXi virtual machine:

[root@packer-esxi:/tmp] esxcli system settings advanced set -o /Net/GuestIPHack -i 1
[root@packer-esxi:/tmp] exit
Connection to 192.168.1.51 closed.
sdorsett-mbp:~ sdorsett$
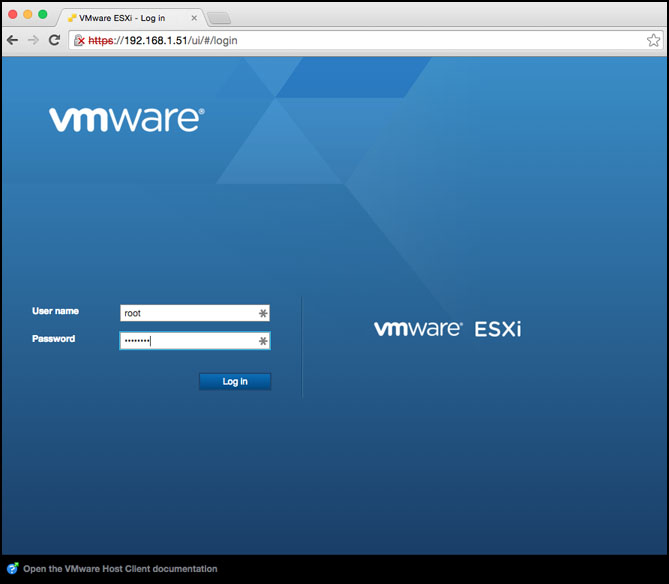
11. Log into the embedded host client to validate that it it working properly
Open a browser on your local machine and go to https://[ESXi-virtual-machine-ip-address]/ui
Accept any certificate warnings and log in using root as the username and the password you entered while installing ESXi.
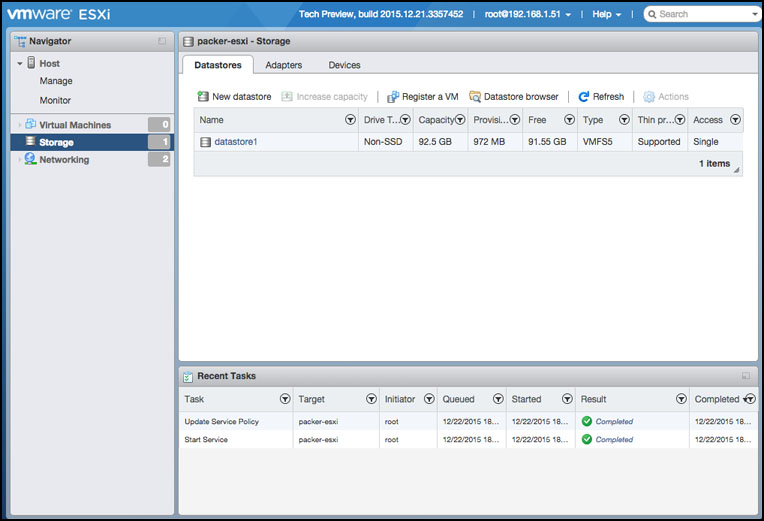
Under Storage | Datastores we can see a datastore name “datastore1” was automatically created using the extra space of the virtual hard drive.
